💌 Make an invitation and send it by text — free
Create an account, pick a template, hit a payment screen at the download button… sending one invitation takes more steps than it should. In Title Card you add a photo, the names and a date, and the invitation is ready to send from your phone. No sign-up and no payment.
Make an invitation →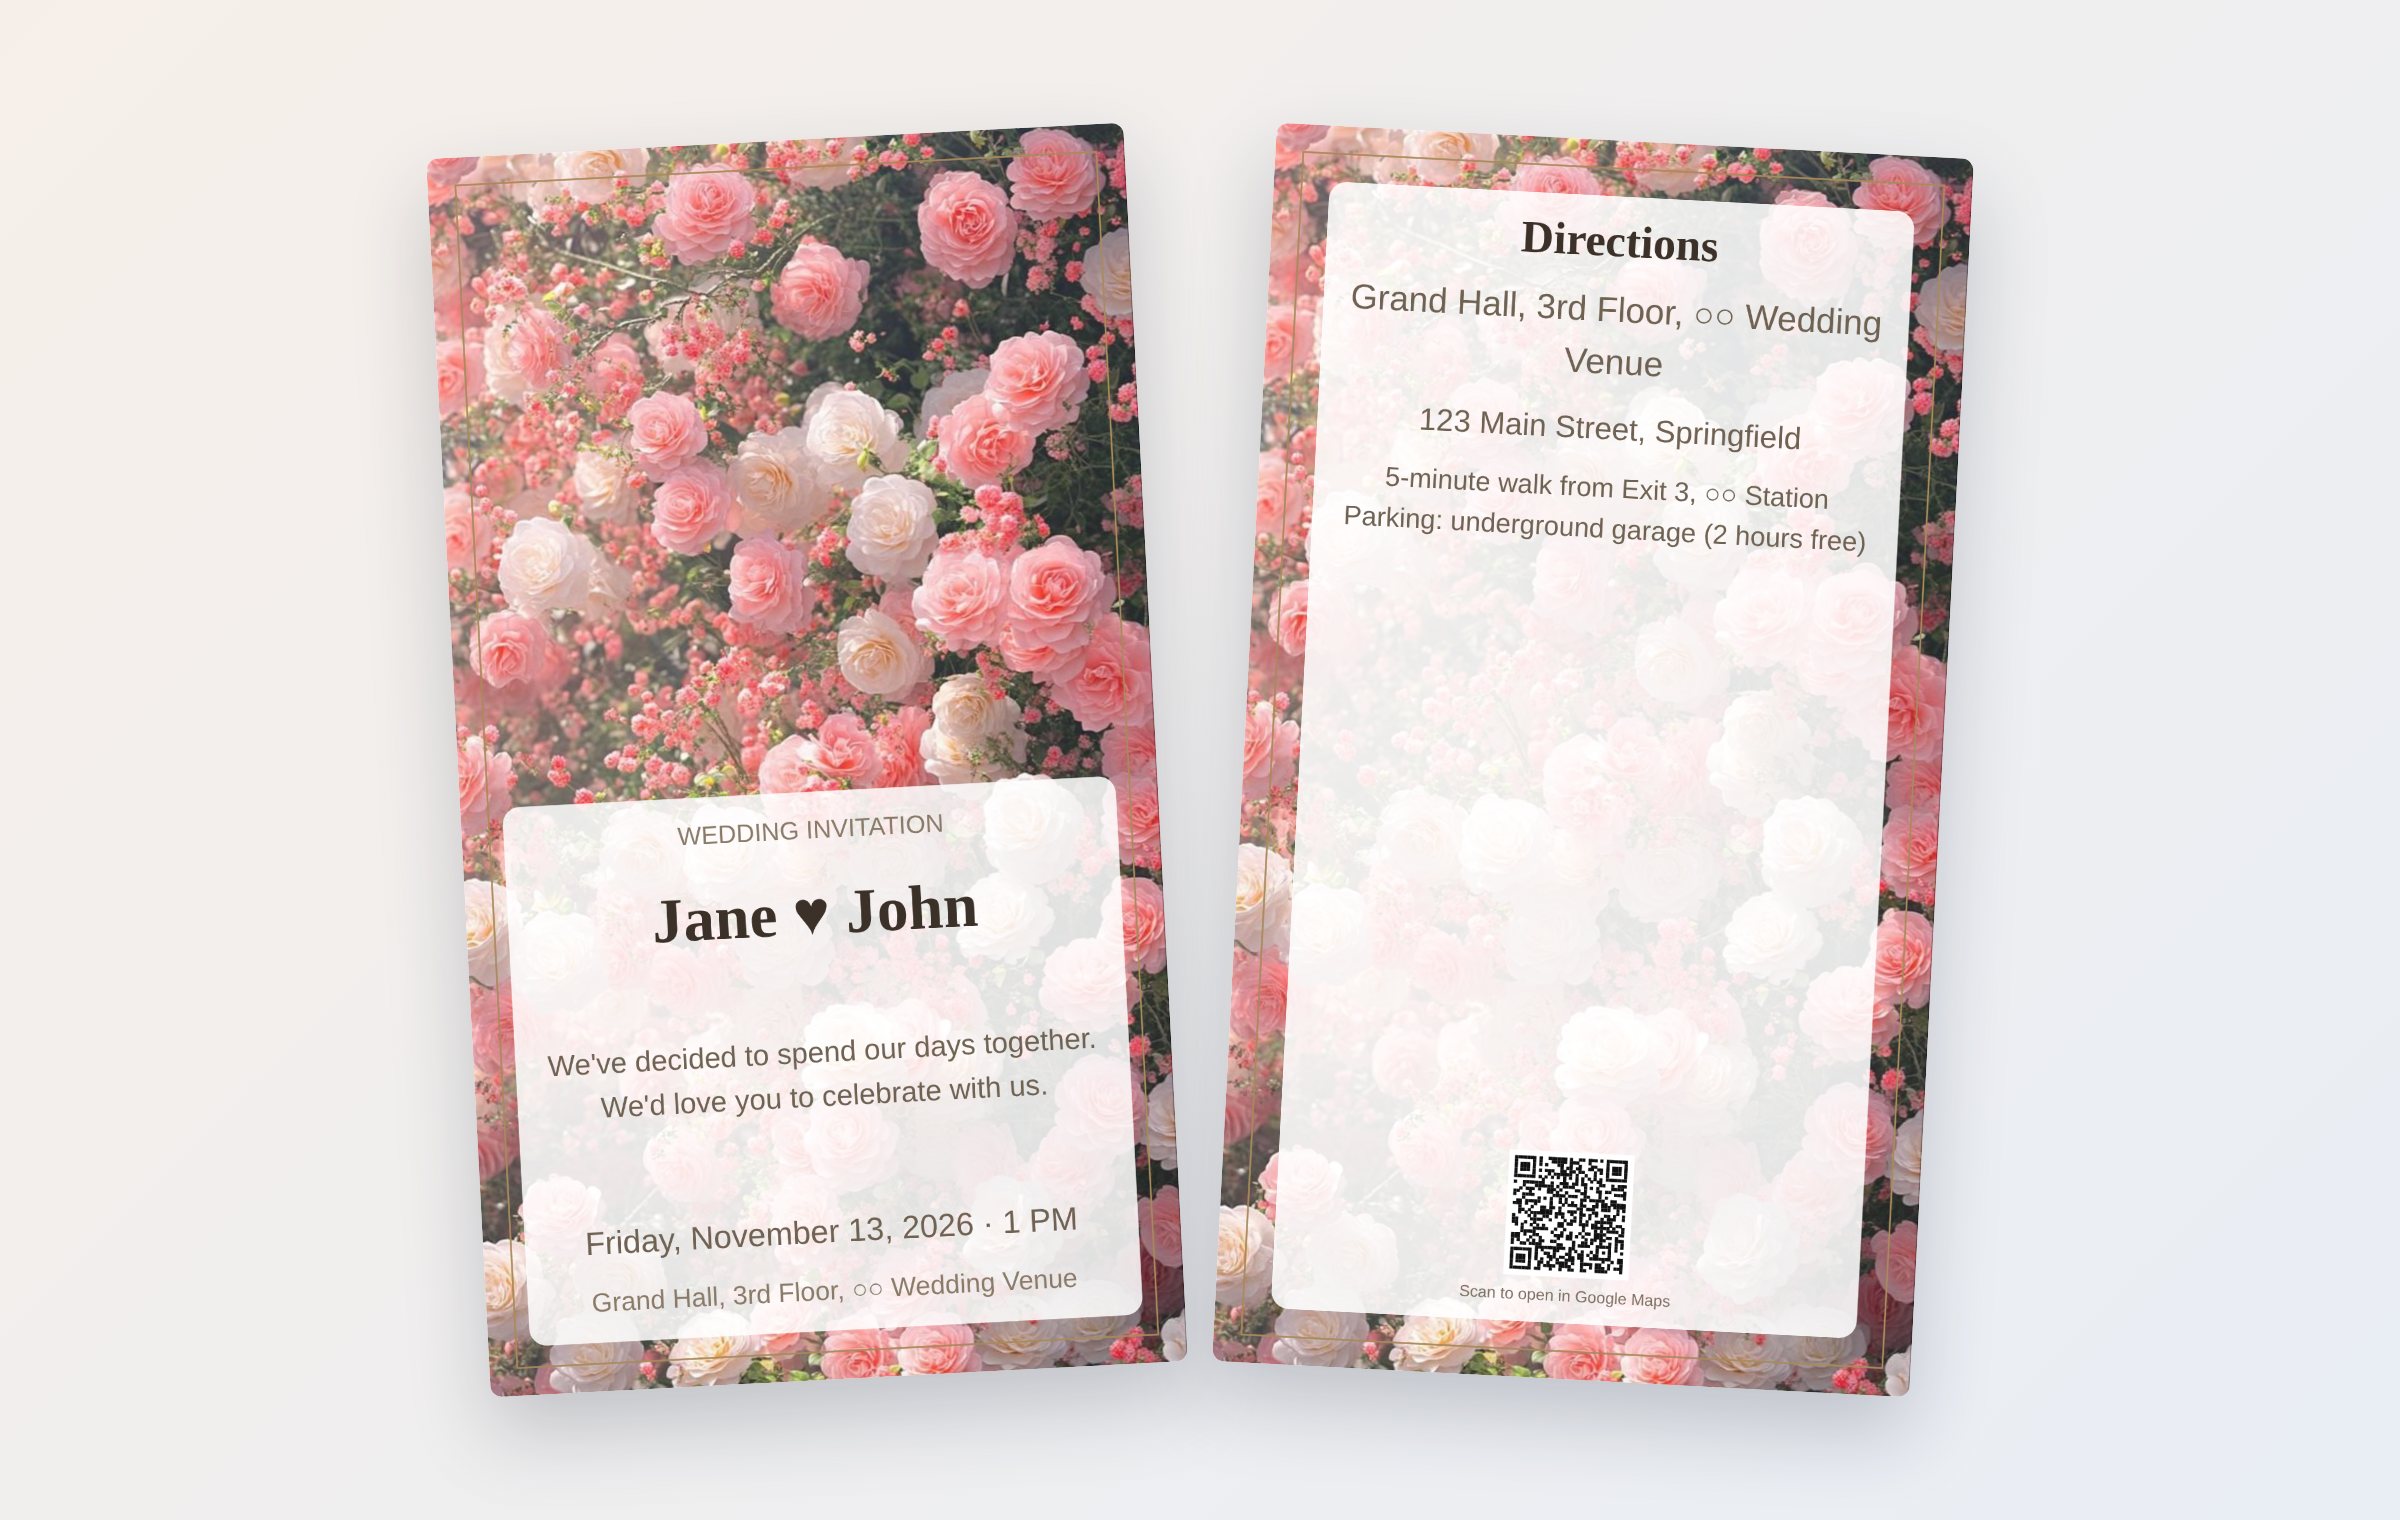
The names, address and map in the image are examples.
What you can make
- Wedding invitations and save the dates
- A photo of the two of you, the date and time, and the venue, with directions on the back.
- First birthdays and birthday parties
- Put a photo of the baby or the guest of honor in the frame, with the party time and place.
- Milestone birthdays
- A 50th, 60th or 70th: a photo of Mom or Dad and an invitation for family and friends.
- Funeral notices and sympathy thank-yous
- A quiet design with a white flower background, the service time, and directions to the funeral home.
- Birth announcements and thank-you cards
- Good news or a word of thanks, with one photo.
- Holiday parties and company events
- A clean invitation for an office or group event.
How it works — about three minutes
- Pick a type — there are 12, including Wedding, First birthday, Birthday party and Funeral notice. Sample wording and a matching design are filled in right away.
- Design and photo frame — choose one of the designs for that type and add a photo to the frame (Arch, Circle, Heart and others).
- Flower background — roses, cherry blossoms, cosmos, sunflowers, lavender or chrysanthemums can fill the background. Your own photo works too.
- Date & time — pick the year, month, day and time, and the weekday is filled in for you.
- “Directions” on the back — upload a map screenshot and type the address and how to get there. With Google Maps selected, a QR code appears that opens the address in a map app when scanned.
- Send it — tap Share and send it from your phone. Turn on “Flip” and guests get a link where they tap the card to turn it over.
Save the dates, RSVPs and other wording
For a save the date, start from the Wedding type and change the small line at the top to “SAVE THE DATE.” The names, the date and the city are enough; the full invitation can follow later.
There is no RSVP form, so put the reply details in the message itself — for example, “Please RSVP by May 1 to Jane at 555-0123,” or a link to your wedding website. There is also no separate type for baby showers, bridal showers or graduation parties; start from Birthday party and rewrite the text.
What your guests see
Sent as a flip-card link, the message preview shows a title that matches the type, such as “A wedding invitation has arrived.” Tapping the link opens the invitation full size, and tapping the card turns it over to the directions on the back. Guests can save the card to their photos, or tap “Send congratulations” to make a reply card on the spot. The link stays open for 30 days.
If you want paper invitations
Under Size, choose “Print A6 105×148mm” or “Print 5×7in 127×178mm” — 5 × 7 is the usual US invitation size — and the file is saved for print with bleed included. Send it to a print shop as is, or choose “Fit many on a sheet,” set the paper to Letter, and cut along the dotted lines.
Questions
Do my guests need an app?
No. Sent as an image, it shows up like a photo in a text or chat. Sent as a flip-card link, it opens in the browser when they tap it. Nobody has to sign up or install anything.
Is it really free?
Yes. There is no sign-up and no payment, and no watermark is added to your invitation.
Where are my photos stored?
Your photos and text are used only inside the browser on your device. Only when you send a flip-card link is the finished card image kept, with your consent, in Cloudflare R2 storage for 30 days and then deleted automatically.
Can I print paper invitations?
Yes. Under Size, choose “Print A6” or “Print 5×7in” and you can save a print-ready PNG or PDF with bleed. A PDF that fits several on one sheet is available too.
How do I add a map?
Take a screenshot in a map app such as Google Maps, or upload a hand-drawn map, in the “Map image (back)” field. Fill in the address and a QR code that opens it in Google Maps is added to the back.